After a couple of years of being offline and inactive, we are making efforts to bring FridayHacks back online. We have been updating Ruby and other Jekyll dependencies and we have been able to fix some issues blocking us from posting.
We want to continue our original mission of trying out and explorining different technologies on Friday nights with the purpose of learning and discovery. We have not been consistent with this goal these past years, it is has been mainly associated with a lack of organization and planning. One of the important points to highlight is that we will try to be more organized and try to schedule sessions in advanced. We have an extensive list of projects and ideas we want to try, and we have not been able to cross any item of the list. We want to change that this year. We are excited to slowly bring this site to its full momentum and we will include livestreams in the near future.
Time to build.
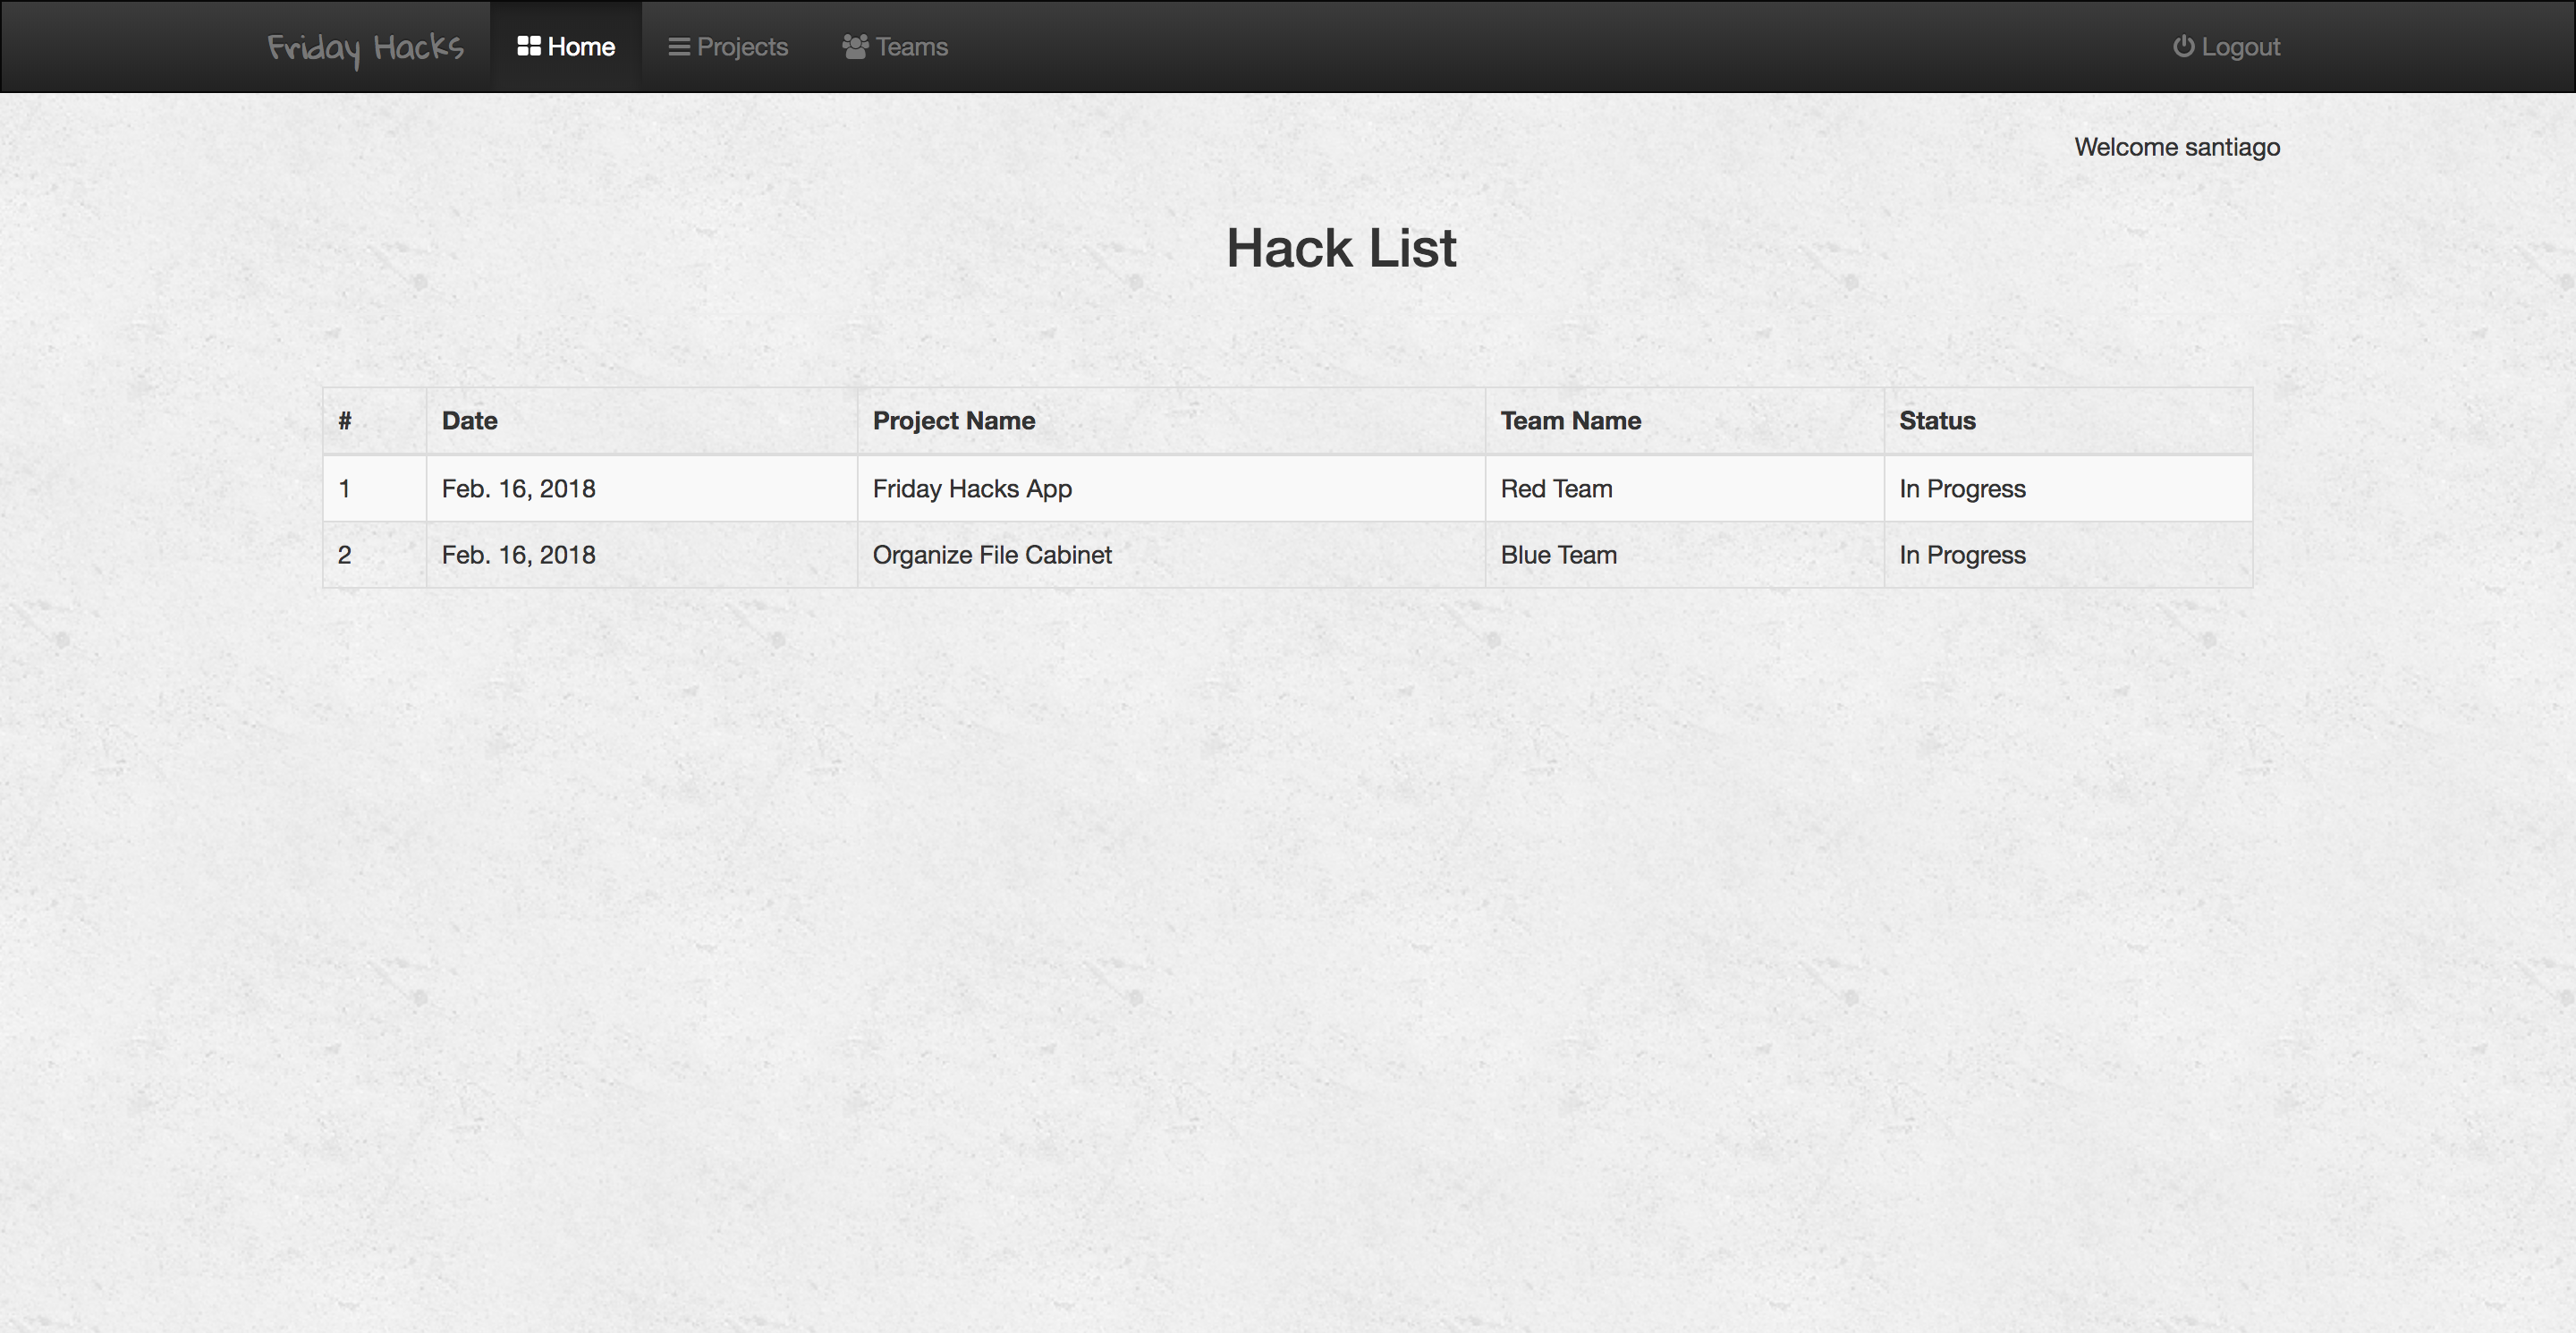
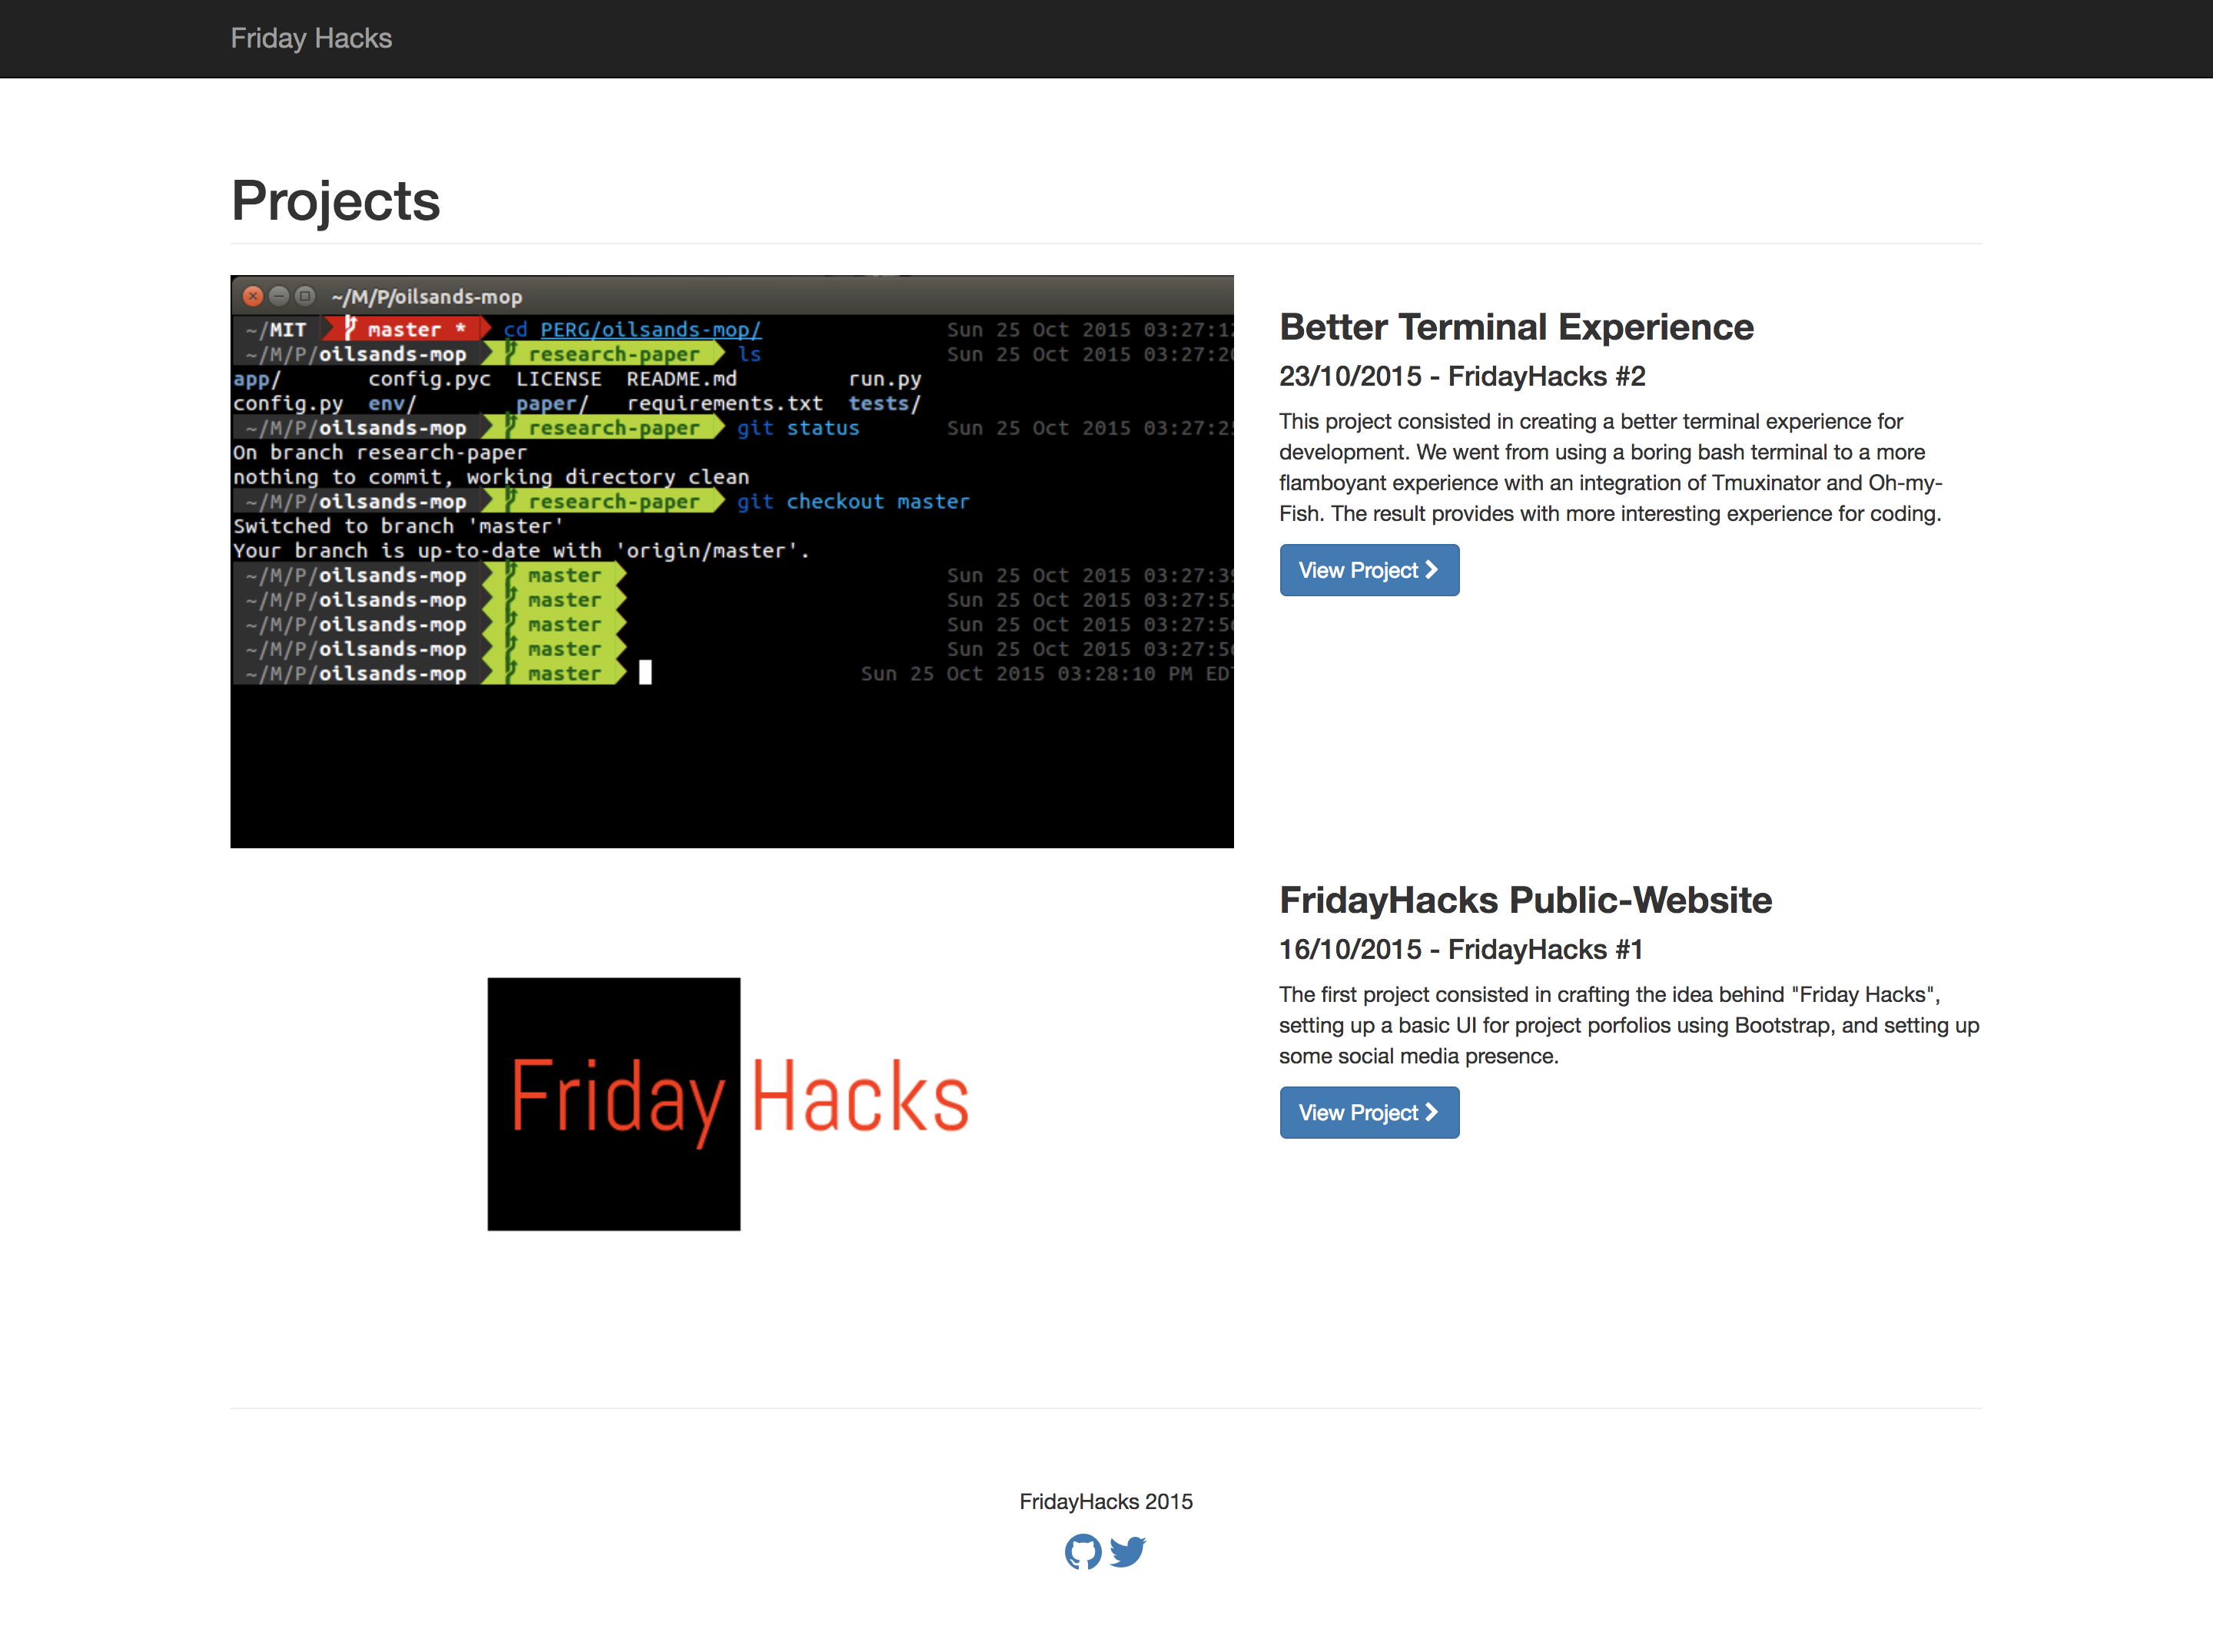 FridayHacks website, using static Github Pages
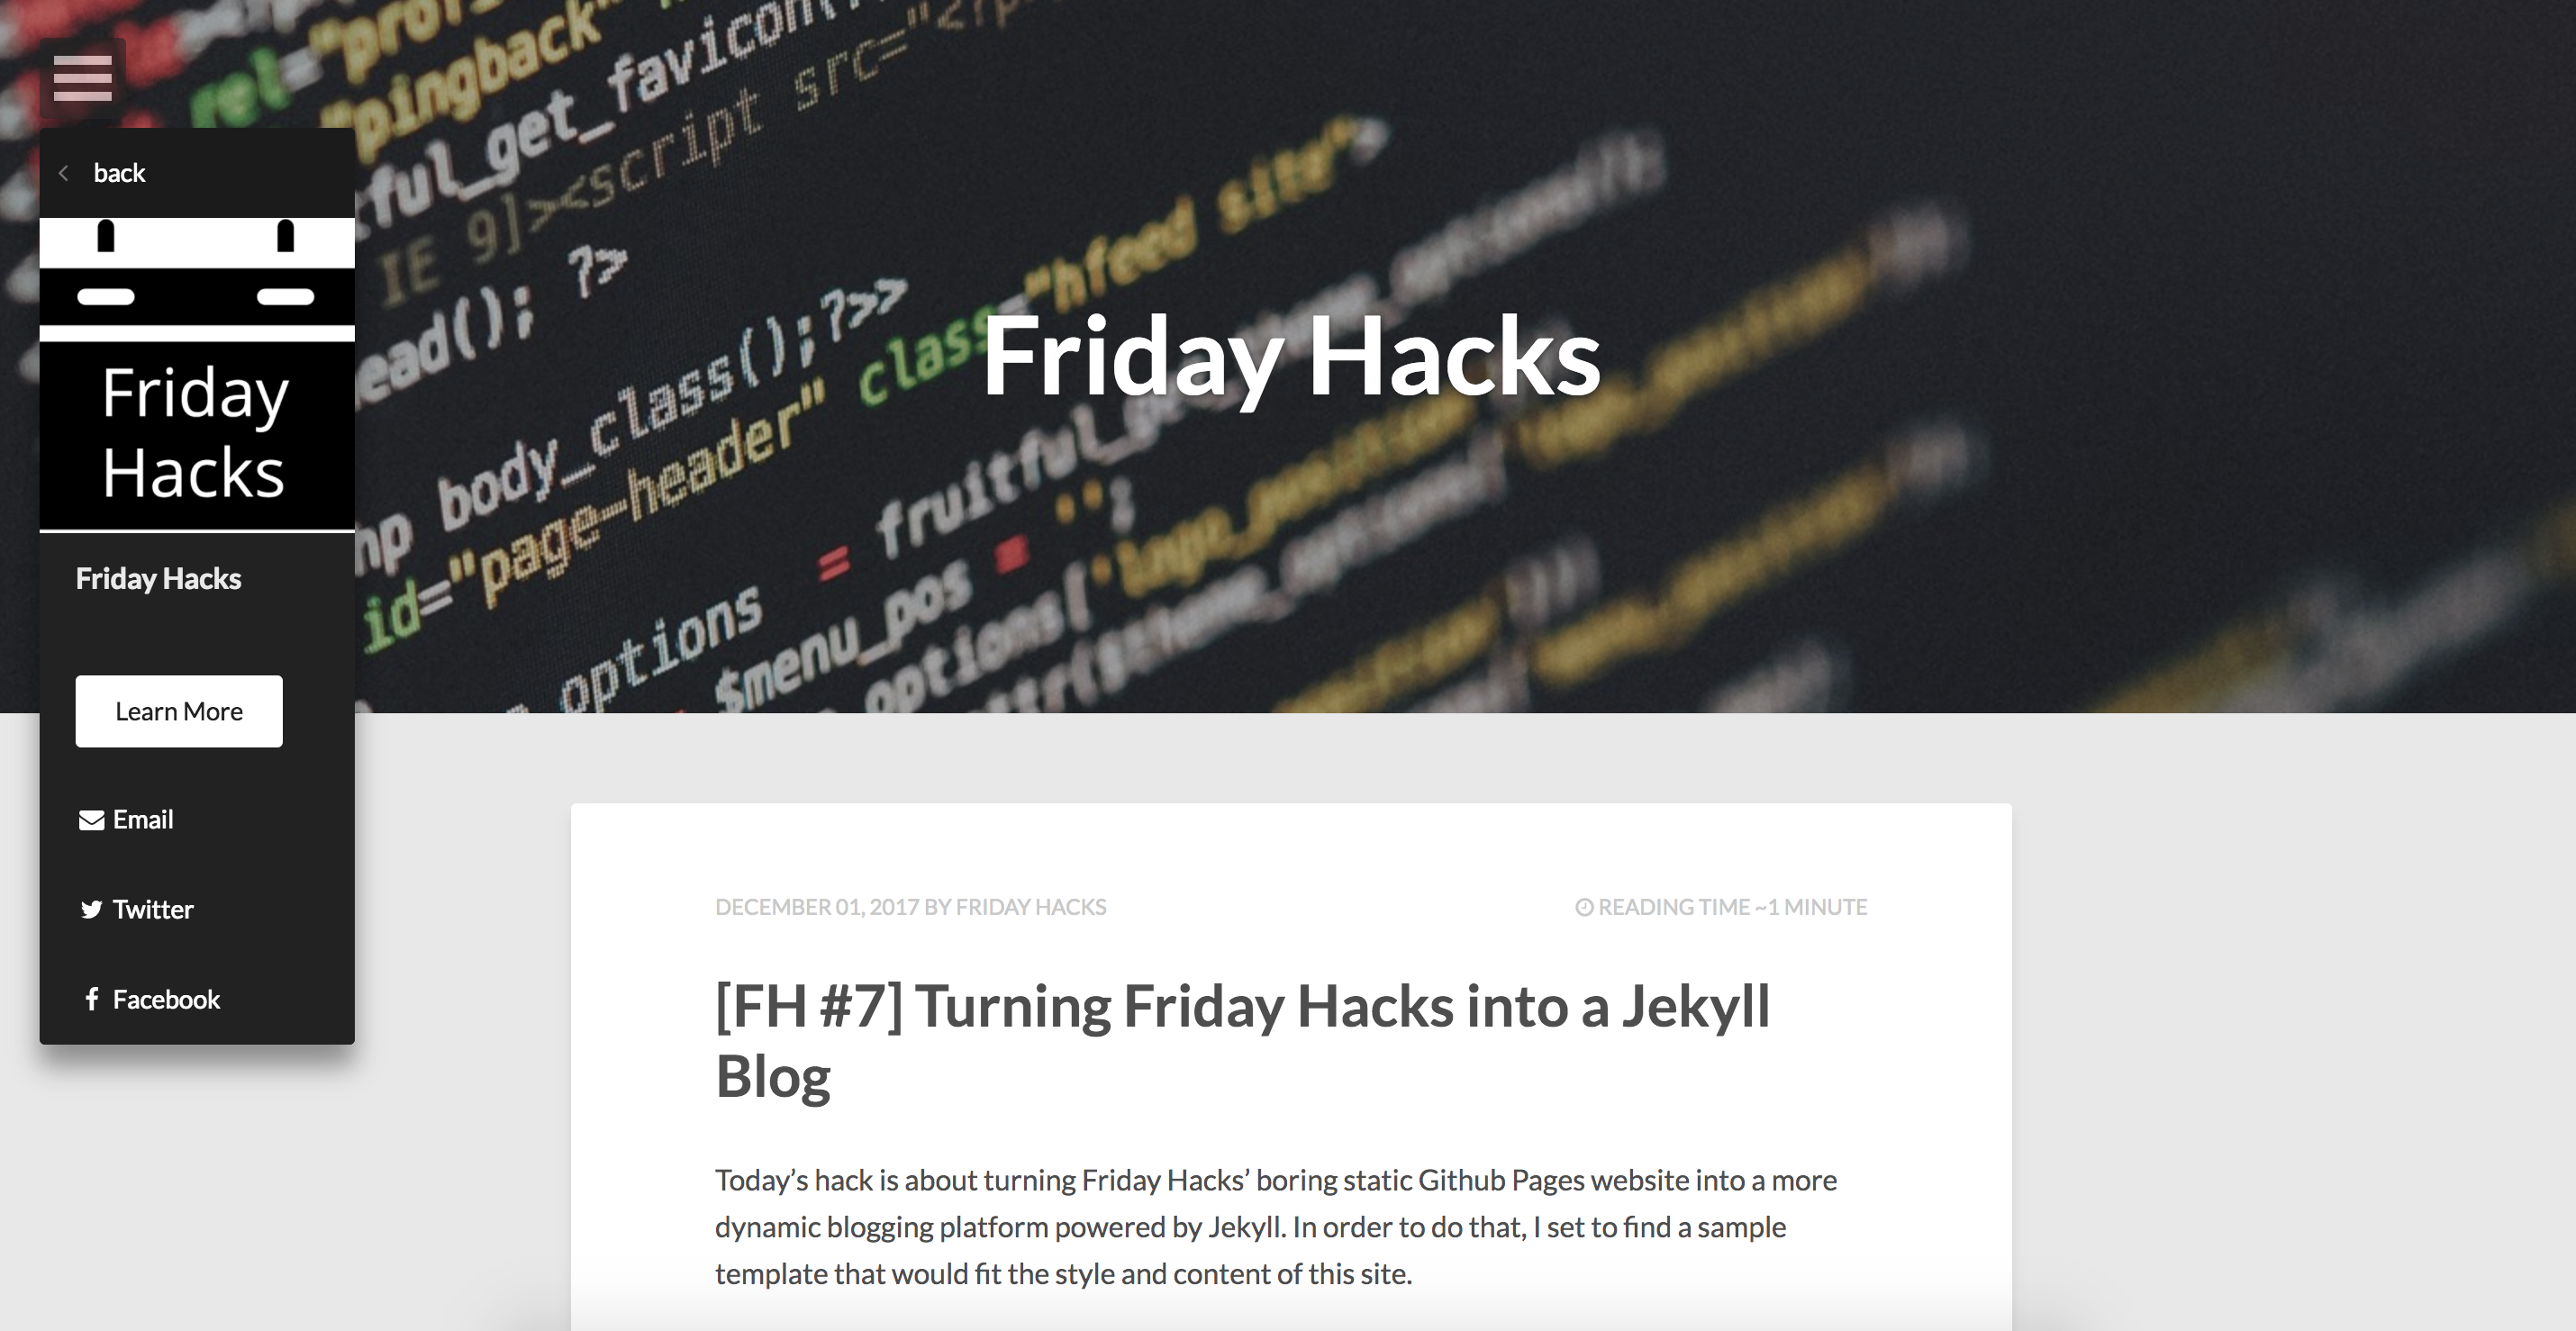 FridayHacks website, using HPSTR Jekyll theme